Range hoods are an essential appliance to let you breathe in the smoke-free and odor-free air and enjoy your cooking experience.
Either you plan for a new range hood of a modern kitchen or search for a new range hood, ductless range hoods offer an easy installation.
Tools Required to install an under cabinet ductless range hood
You would need the below tools for installing an under cabinet ductless range hood in your kitchen.

- Tape measure
- A pencil
- Level
- Screwdriver or drill
- A workbox
- Wire Stripper
- Drill and Drill bits
- Tracing paper
- Circuit testes
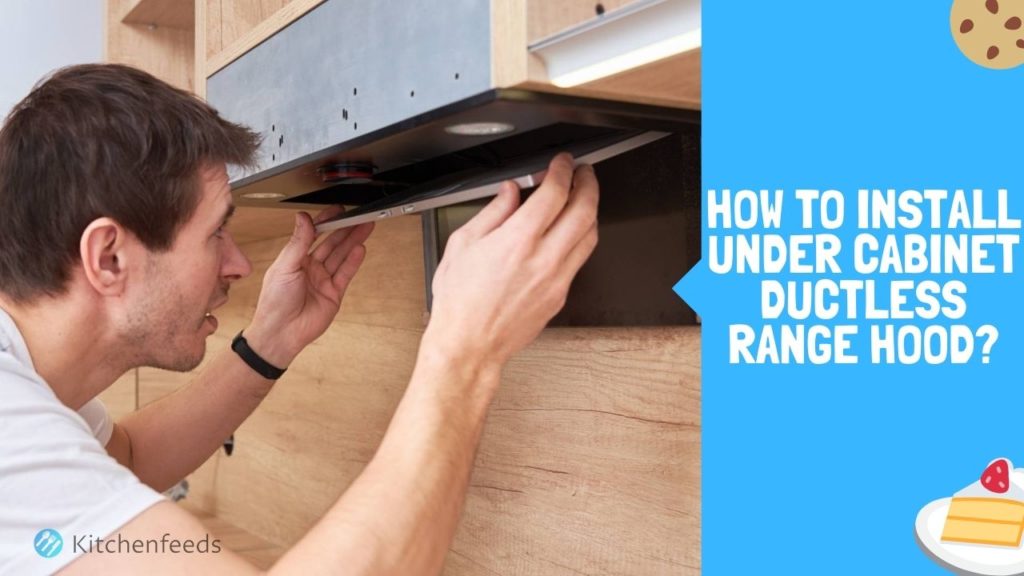
Step-by-Step Process of Installing Under Cabinet Ductless Range Hood

Below are the step-by-step instructions to help you install an under cabinet ductless range hood.
Step 1: Creating a Template
The very first step when you install a ductless hood is to create a template using a pencil. Make sure you find the center of the cabinet to install your range hood properly.
When you have two cabinets above your range, it is very important to find the center so that the look after installing your range hood is in symmetry.
Use a level to find the center of your wall space. If a template is not included with the range hood, ask for assistance or create one to mark the screw holes.
Step 2: Taking Measurements
Decide on the height of the ductless hood and install the hood around 28” to 36” above your cooktop.
After deciding on your template of how to mount and where to mount your ductless hood, measure the height and length of your range hood. Make the marks according to the measurements on the wall.
Mark the measurement of your screw holes or the mounting points of your ductless hood. Mark the center and the two mounting points on a cardboard sheet.

Step 3: Drill through the mounting points
Once you have the marks on the cardboard, place it along with the wall under your cabinets. Using a 1/8-inch bit, drill through the cardboard marks into the wall where the mounting points are placed. Also, drill the top where the screw will lie in your ductless range hood.
Step 4: Setting Up the circuit
Place an old workbox against the wall where the wires will emerge. Mark the openings around the center line and use a circuit tester to check. Once you get all the circuit and wires live, switch off the circuit controlling the breaker.
Step 5: Connect the Wires
For each insulated wire, strip a little wire from the edges using a wire stripper. Bend the exposed ends of the wire to make a J shape and loop it with the black wire on the electric receptacle.
Step 6: Fix your Range Hood
Hold your ductless range hood and slip it over the mounting screws. Tighten the screws carefully. Find the two studs behind your range hood and anchor them at the marked spots. It won’t be visible, so you can use a stud finder to determine the location.

Step 7: Plug your range hood
After all the wiring and connections are secured, plug the range hood into an electric outlet and check if everything is working fine.
Step 8: Install the Filters
After you complete your installation and testing your range hood, you won’t need to have the chimney open.
So, the last step would be taking your range hood filters (aluminum, mesh, baffle, etc.) and setting them in place.
Why go for Ductless range hood installation?
Whenever you think of buying a ductless range hood you would surely think about ductless under cabinet range hood installation. Ductless hoods don’t require special vents or large extractors to vent the air outside, so there is no additional carpentry work required in the case of ductless range hoods.
Recirculating range hood installation is very easy as compared to ducted hood installation. If you live in an apartment where you can’t let the vent outside, or there is no opening to place the duct pipes outside your kitchen, then an under cabinet ductless range hood is an optimal choice.
Things to take care of while installing an under-cabinet ductless range hood
Although the installation of an under cabinet ductless range hood is much easier than ducted hoods and won’t require that much carpentry work… there are a few things to take care of before installing your hood, which are:

- You need to ensure that the cabinet over your range is suitable for fitting the hood under it and the range hood thickness and height requirements are met.
- Create a paper template before your installation, so you don’t miss out on anything.
- Get plywood to cover your range if you drop nails or screwdriver accidentally; the wood will keep your range safe.
- Figure out the center of the cabinet and mark it. It should be exactly halfway if the installation space is between two cabinets above the range.
- Choose a range hood at least a few inches smaller in size than the thickness of your cabinet because it would be tough to fit the hood, and your hood would be prone to scratches.
- Installing ductless range hoods is an easier task, and you won’t require much professional help in case you are okay to do some hard work.
Conclusion
Although ductless range hoods are easy to install, you can take help of someone to assist you while installing the hood. Also, try covering your range with some cardboard sheet or a piece of plywood so that it is protected and safe while you install your ductless range hood under your cabinet.
Follow the step-by-step instructions that come with your under-cabinet ductless range hood to get the desired functioning and appeal in your kitchen.
FAQ
1. How to install recirculating range hood if we have two cabinets above the cooktop?
Ans – You just need to take proper measurements of the center of both the cabinets and then mark the center of the range hood.
2. How to wire a range hood?
Ans – Run the wire cable from inside the wall through the cable holder in your ductless range hood and attach both black and white wires for fan and light.
Also Read: