How often have you cooked something that ends up getting stuck to the pan? I personally have suffered from this issue more times than I can count… until I discovered the silicone baking mat!
This kitchen utensil has made my baking and cooking way easier and much more convenient than before. There’s no need to grease with oil or cooking spray – you don’t even need parchment paper!
If you haven’t tried out one of these silicone baking mats yet, you’re in for a great surprise – it’s really a game changer in the kitchen! So, let’s get things sorted.

How to Use Silicone Baking Mat?
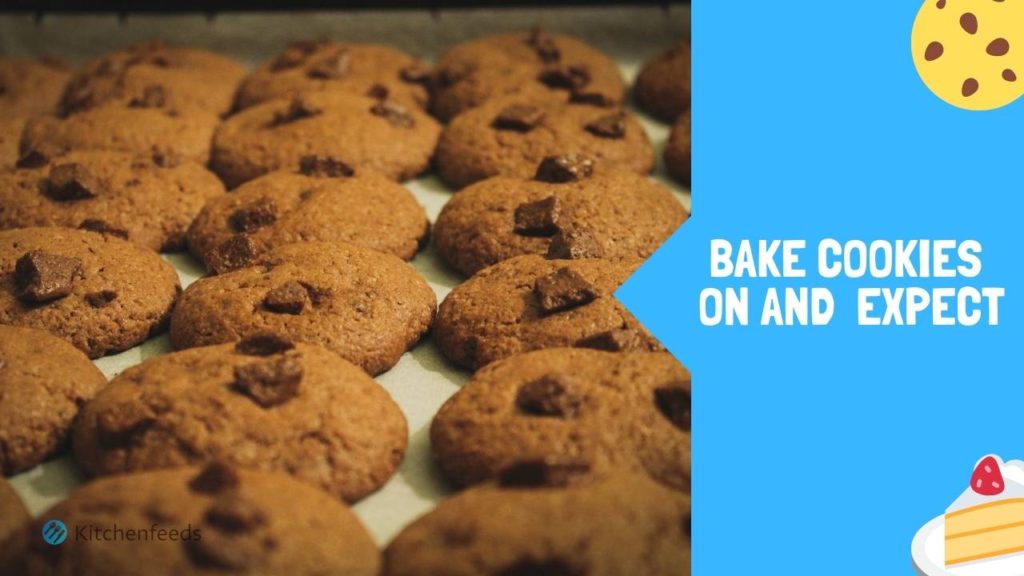
Silicone baking mats are perfect for baking that perfect chocolate chip cookie or some delicious ooey gooey cinnamon rolls too! How about a non-sweet option? These flexible non-stick baking mats are even useful for baking savories such as a delicious baked white fish seasoned with salt, pepper and coriander and finished with a squeeze of fresh lemon juice.
You can use silicone baking mats for messy baking! For example, you know when you have a bubbling hot dish in the oven that tends to spill over and make a mess in the oven?
Just place the non-stick baking mat right underneath and it will catch those sneaky drips and prevent your oven from getting so dirty! You don’t even need to use aluminum foil underneath anymore. There’s also no need for placing an additional sheet pan underneath; problem solved!
Since it’s designed for non-stick baking and cooking, the silicone baking mat is perfect for “sticky” ingredients like batter, dough, caramel, etc.
There is absolutely no need to modify your recipe or alternate the temperature when using these silicone baking mats, so just cook or bake your recipe as usual.
Every silicone baking mat has its limit to what the minimum and maximum temperature it should be exposed to and it’s usually either stated on the product directly (look for a stamp) or you can find this information in the original packaging the silicone baking mat came in. Make sure you stick to the temperature limits and this will ensure durability of the product so that you can use the mat for years to come.
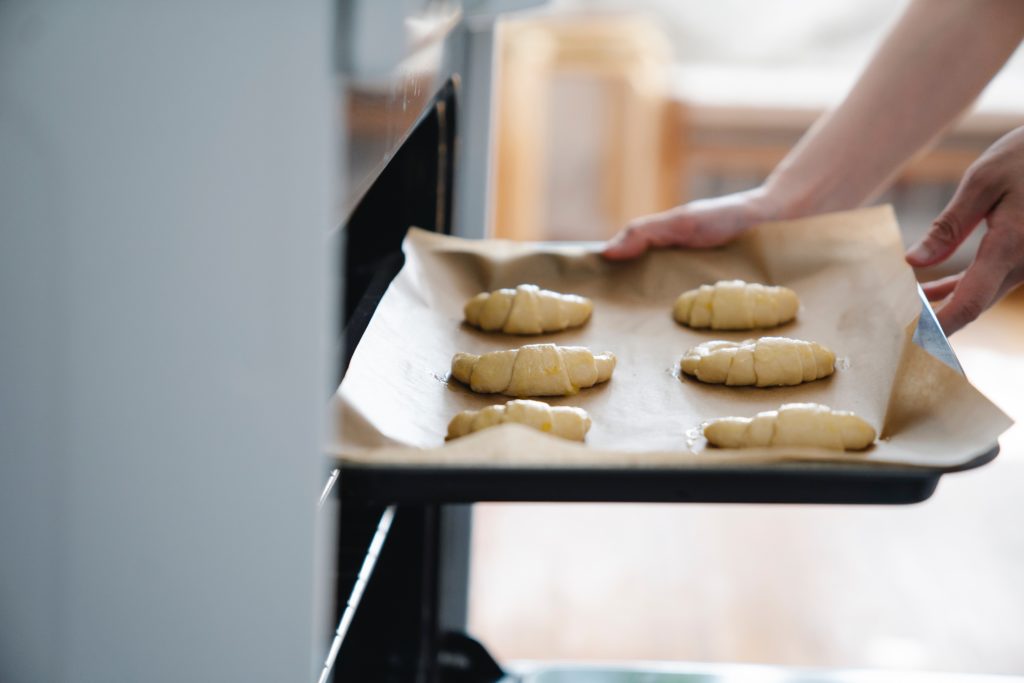
Make sure you silicone baking mat is clean and then simply place it directly on your cooking tray or countertop. When baking, you could place the mat directly on the oven rack, however, for stability purposes, it would be better to place them on the cooking tray. Once your baking is done, remove the mat from the oven and allow to cool, remove the food and then serve.

What’s amazing is that once you’re done using the silicone baking mat, cleaning it up is such a breeze! All you need to do is wash it with water and soap, and then place it on a rack to dry. Yes, it’s that simple! Soaking also helps.

FYI You don’t really HAVE to grease your silicone baking mat before using it, but I found in some cases it does help clean-up to be way faster – just a small tip. Silicone baking mats don’t get rusty like metal-based bakeware so you can soak it and not have to worry about it degrading and rusting.
Storing your silicone baking mold is very easy since they retain their shape no matter how they’re stored. According to The Kitchn, the best way to store them is to roll them and place them inside an empty paper towel tube – neat trick! You can even use a finished toilet paper roll if you don’t have a paper towel tube.
Silicone baking mats are so durable and made from food-grade silicone, which means they can be re-used again and again – thousands of times! I’ve used mine for over a year and it’s still in great condition with lots of baking left to do. Also, don’t be afraid to use metal kitchen utensils on the silicone baking mats since they don’t get damaged like the regular pans and baking sheet trays.

Something you should know (but not worry about) is that some silicone baking mats may stain if using tomato sauce or vibrant colored spices such as turmeric. Silicone baking mats stains don’t really affect their function whatsoever.
Step by Step Usage of the Silicone Baking Mat
- Make sure your silicone baking mat is clean.
- Place it directly on your cooking tray or countertop. When baking, you could place the mat directly on the oven rack, however, for stability purposes, it would be better to place them on the cooking tray.
- Once your baking is done, remove the mat from the oven and allow to cool, remove the food and then serve.
- Clean your silicone baking mat and let air dry.
How to Clean a Silicone Baking Mat
- Soak it
If your silicon baking mat is too greasy, just soak it for 10 minutes in a sink filled with hot water and dish detergent. Afterward, scrub it with a sponge. Make sure to wear gloves as the water will still be hot.
- Add baking soda with lemon
Lay your dirty silicone baking mat on your kitchen counter or in the sink and sprinkle a little bit of baking soda. Slice a lemon in half and rub it over the mat to create a paste-like consistency. Leave it for 10 minutes. Next, place your silicone baking mat under warm water to clean it completely. Allow the baking mat to air dry.
- Place it in the dishwasher
Most silicone baking mats are dishwasher-safe; check the packaging to make sure. You can put it on the top rack in the dishwasher.
Can Silicone go in the oven?
Of course, silicone can go in the oven!
Silicone is known to be resistant to “extreme environments including extreme temperatures”. This attribute makes them a popular choice for bakeware. Most silicone can tolerate temperatures from -70°F up to +446°F. (Source)

Silicone pans and baking mats are oven-safe and can be used at hot temperatures (usually up to 450 degrees F). They’re suitable for all kinds of ovens, except direct fire ovens. It is also NOT suitable for direct heat sources i.e. BBQ grills, stove top, broiler, etc.
Additionally, most silicone-based pans and mats are suitable to be placed in freezers, refrigerators, microwaves and dishwashers.
I would advise to keep an eye out for the temperature to make sure you don’t melt your silicone mat by mistake resulting in all your hard work going down the drain! Different mats could have different temperature thresholds. So definitely check your silicone pan or mat (you could possibly find it on its original packaging) in order to find the exact temperature it can withstand.

What is Silpat?
I’d like to introduce you to Silpat – it’s my go-to brand for non-stick silicone baking mats!
Silpat is the “original” non-stick baking mat made in 1965 and has been used by so many chefs around the world to this day. Long story short, a French baker known as Monsieur Guy Demarle decided to develop a much better way to prepare and bake baguettes, et voila, Silpat was born!
Silpat is made using a unique fiberglass mesh and high quality food-grade silicone; this helps heat to be distributed consistently which promotes more even baking, no burnt base and finally, no sticking!
Just like the silicone baking product I’ve been talking about throughout this article, it is also freezer, microwave, oven-safe and dishwasher safe. It can withstand temperatures from 40 degrees F to 500 degrees F. If you take care of your silicone-based baking products, they should last up to 3000 baking cycles, the brand states.
There is a wide range of non-stick bakeware by Silpat which will change the way you bake fundamentally! You can bake your favorite bread, pastries, cookies as well as savory foods in a perfect manner each time! Professional French bakers use it and it’s certified by FDA, NSF® and Kosher, so I’m glad to be on the same page with my baking and cooking.
Conclusion
So hopefully the information was helpful and answered most (if not all) of your questions regarding the basic silicone baking mat including how to use it, how to clean it, can it go in an oven, etc.
Using Silpat brand is highly recommended since it’s the revolutionary brand that started it all and changed cooking and baking in such a fundamental way for many professionals as well as home bakers.
Further Read