Through daily wear and tear, the faucet in your kitchen can loosen over time. This can be particularly annoying when you are using your sink. Left unattended, it may also damage the plumbing as well leading to bigger problems and expenses. There are several reasons that your faucet may be loose. Identifying the cause will permit you to tighten your loose kitchen faucet.
A Loose Nut
The most common reason that a faucet loosens is a nut that needs tightening located underneath the sink. This nut is what keeps your kitchen faucet head and its base in position. It is located on the faucet mount’s underside and may loosen if the threads on the bolt or nut wear.
If you keep overtightening the nut, it may also slip on the bolt, and loosening will occur.

It is important to fix this as soon as you notice that your faucet is moving, swiveling, or a bit unsteady so that your plumbing isn’t damaged and leakage results.

How to Tighten a Kitchen Faucet
You won’t really need a plumber for this one. You merely need to tighten the bolt that keeps your faucet head and the faucet base in their correct position together.
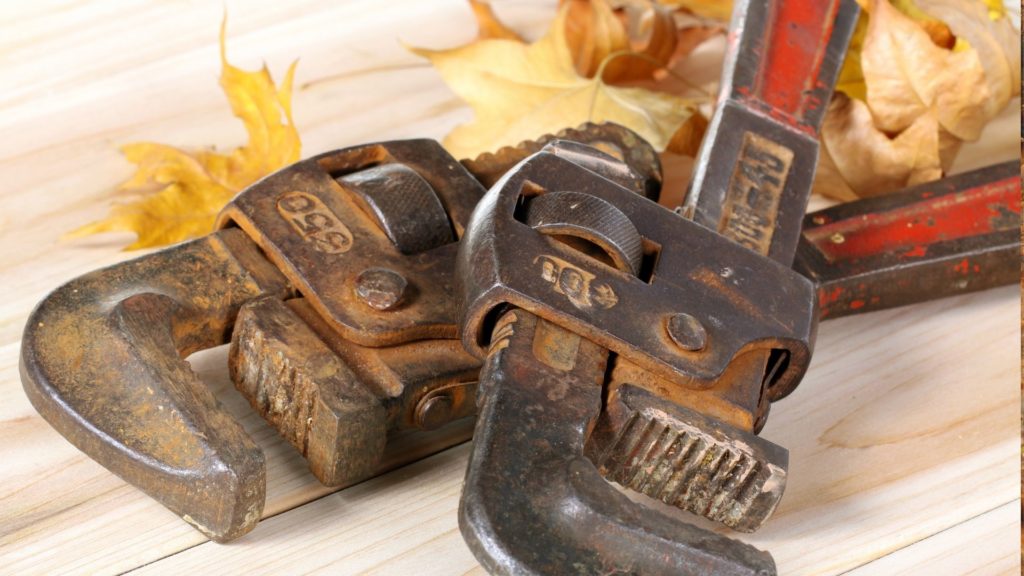
Necessary Tools for Tightening Kitchen Faucet
- Flashlight
- Adjustable wrench (Basin or sink wrench)
- PPE safety glasses or goggles

Step-by-step Guide for Tightening the Kitchen Faucet
Step 1: Empty the work area.
If you are utilizing the cabinet underneath your sink for a garbage bin or for storage, you will need to clear out everything, removing whatever is under the sink. Clean the area before entering to work for your own comfort. It is particularly important to clean the surface above your head and face, so dust or dirt is not falling onto you, or in your face, while you are repairing the faucet. It is a good idea to wear your safety glasses to protect your eyes.
Step 2: Shut Off Your Water Valves
If you have water valves in place under your sink, turn them off before you begin locating the loose bolt. Make sure to turn off both valves for hot and cold water.
Step 3: Underneath the Sink
With your flashlight, slide into the space underneath your sink while facing in the upward direction. You should be able to view the sink’s underside. Using your flashlight, begin to search for the bolt on the sink cabinet’s roof. The bolt should be easy to locate as it should be sitting directly under the position of your kitchen faucet.
Step 4: Preparing the Adjustable Wrench
Once you have located the bolt, you will need to adjust the size of the wrench to the size of the nut located on the bolt. This is the nut that requires tightening.
Step 5: Tightening a Loose Kitchen Faucet
With your wrench firmly gripping the nut, begin to turn in a clockwise direction. You may need to position yourself somewhat awkwardly to manage.

The nut should be tightened until you feel that it can turn no further however, do not force it. If you do not tighten the bolt adequately, the faucet will begin loosening as it is used. However, overtightening by forcing the nut may cause it to slip on the bolt.
Step 6: Turn the Water Back on
You can now move out of the space underneath your sink. Check your faucet to verify that it is no longer loose and has been sufficiently tightened. Turn the two valves for your water supply back on. Try running your faucet. Now you can replace the things that were stored under the sink.
If your faucet is still loose, try to tighten the kitchen faucet handles.
Necessary Tools for Tightening Kitchen Faucet Handles
- Flathead screwdriver
- Phillips screwdriver
- Hex Head Wrench
- Safety glasses
Step-by-step Guide to Tightening Kitchen Faucet Handles
Step 1: Empty the Space Underneath the Sink
If the cabinet underneath your sink is used for storage, you need to remove everything under the sink. Clean the area before working. Clean the surface above your head and face, to avoid dust falling on you. Wear your safety glasses to protect your eyes.

Step 2: Shut off the Water Supply Valves Underneath your Sink
Locate your water supply valves and turn them off.
Step 3: What Type of Faucet do You Have?
The faucet will be positioned and mounted with a screw that uses a Phillips Head screwdriver or with a screw that needs a Hex Head wrench. If you cannot see the screw head, it probably is covered by a cap that needs to be removed.
Remove the cap with a flathead screwdriver or a utility knife.
Step 4: Tightening the Screw
Once you have located and identified the screw type, use the hex-head screwdriver or the Phillips screwdriver. If you must use a hex head wrench, it will probably be necessary to turn on the handle to tighten the screw. This is why it is necessary to turn off the water supply.
A Phillips screw may require just the opposite. You might need to block the handle in place by holding it while you turn the screw in a clockwise direction.
Step 5: Turn on the Water and Complete
You can now check your faucet to see if it is still loose. Turn on the water supply and replace the cap over the screw if there is one. Replace whatever you removed from underneath your kitchen sink.

A Final Thought
If your faucet is still loose, you will need to call in a professional to assess the problem. Do not leave a loose kitchen faucet unattended as constant faucet movement may cause your water lines to break and rupture. This, in turn, will cause leakage.
While a loose kitchen faucet can be quite annoying, this is a DIY easy home repair unless there is a more serious problem. You only need a few tools and maybe an hour of your time. If you have doubts about the cause, do refer to your trusted professional plumber.