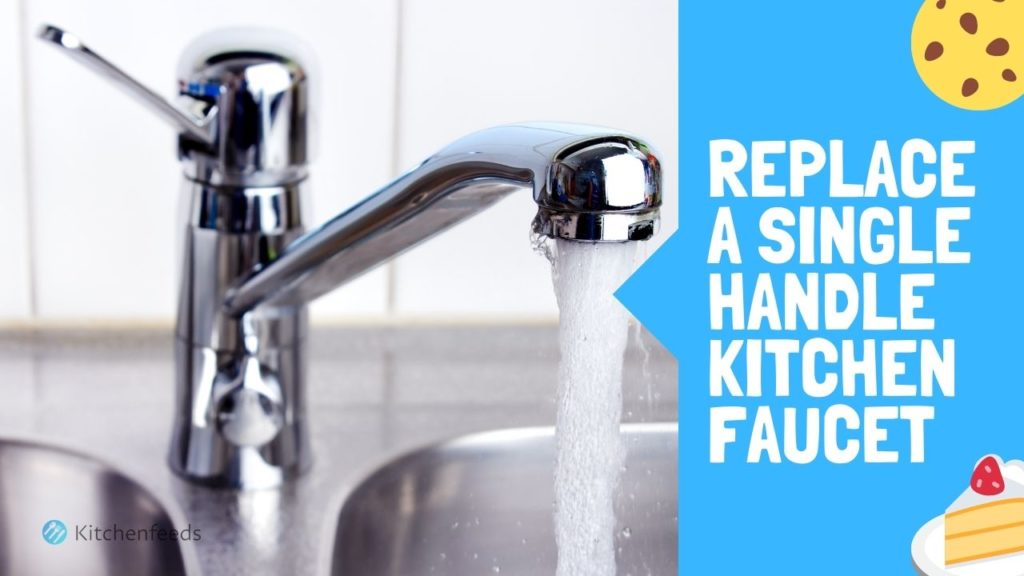
Can you imagine…You’ve just finished breakfast and are kind of in a hurry.
You go to the sink to rinse out your coffee cup and bingo! Your single-handle kitchen faucet breaks off right in your hand and water starts pouring out, potentially flooding your kitchen. In any case, it’s a mess. So, what do you do?
Don’t Panic!
Shut the water supply off immediately. Call into your office to say you’re running late and get down to the business of replacing your single-handle kitchen faucet calmly. This is definitely an inconvenience, but you can resolve it and panicking won’t help.

Initially, you’ll need to disassemble the broken faucet before installing a new one.
Necessary Tools
- Channel-lock Pliers
- 2 Wrenches (a Basin wrench and an adjustable wrench)
- Bucket
- Rags
Necessary Materials
- Silicon caulking
- A new Single-handle faucet set
Step-by-step Guide to Replacing a Single Handle Kitchen Faucet
How to Remove a Single Handle Kitchen Faucet
Close Your Water Supply.
You need to close off your supply of water. If you are at risk for flooding, hopefully, it is the first thing you did. The water supply valve should be closed. It may be under your sink, or you may just have to turn the water off in your entire home momentarily.
Photograph the Plumbing.
Photographing your faucet system will help you reattach the parts to your new faucet.
Disconnect the Faucet Supply Tubes.
Shut off the hot and cold water lines and disconnect the supply tubes to the faucet with pliers and a wrench. Keep a rag handy to catch any water remaining in the tubes as you disconnect them. Do this for both the hot and the cold water tube connections.
Disconnect the Faucet
Go upwards under your sink and begin to disconnect the faucet itself. There should be two nuts and bolts that hold your old faucet in place against the sink. If you have difficulty in reaching up to loosen these nuts, use a basin wrench which is designed to help you unscrew or loosen bolts in hard-to-reach places. It is also the go-to tool if your single faucet handle features a sprayer hose.
Remove the Faucet and Clean the Area
Once your faucet has been loosened from underneath you can begin to pull it out from above. The connecting lines are staggered in such a way that they do come out. Proceed to clean the area where your old faucet has been removed, in the event that you decide to use some plumber’s putty to secure your new faucet. Many people will not use putty if the gasket on the tubing underneath looks sturdy.

How to Install the New Faucet
Prepare the new Faucet and Supply Lines
Prepare your new faucet set for installation. There will be two lines, one for cold water and one for hot water, and screw on plates that hold the faucet set onto the sink. Unscrew the plates. Water supply lines should be attached (screwed onto) to the supply tubes of the new faucet set. These supply tubes will vary in size depending on the manufacturer. You can resolve this by placing a flexible connection if necessary. Silicone caulk is often used when connecting tubes and fittings.

Position the new Faucet
Once water supply tubes are hand screwed on, you will need to tighten the screws by using two wrenches, one to hold the tube and the other to screw tightly. This is done to avoid twisting the tubes when connecting. Now feed the faucet line down the center faucet hole in the sink.
Affix the new Faucet
Underneath the sink and faucet complete the installation by replacing the screw-on plates underneath to hold your faucet set in place. Screw them on hand tight. Check to see if the faucet is centered and then complete tightening the screw-on plates underneath.
Connect Supply Lines
Proceed to hook up the supply lines underneath the sink by attaching the connection tubes to the fittings on the water supply lines. They should be well-tightened and if necessary by using a channel wrench. Do not twist the pipes and do not crimp the pipes in any way. Complete tightening the supply lines, both cold and hot.
Prepare for Testing
Now dry off all tubes and pipes before turning on the water supply. In this way, you will be able to make certain that your connections are not producing any leakage.

Test for Leakage.
Turn on the water supply. Feel the tubing and pipes underneath to verify the existence of leaks. Turn the faucet on and run the water until any air pockets in the new tubing are released. After running the water for a bit, return underneath to double-check for leaks.
That’s it! Your single handle kitchen faucet has been replaced!
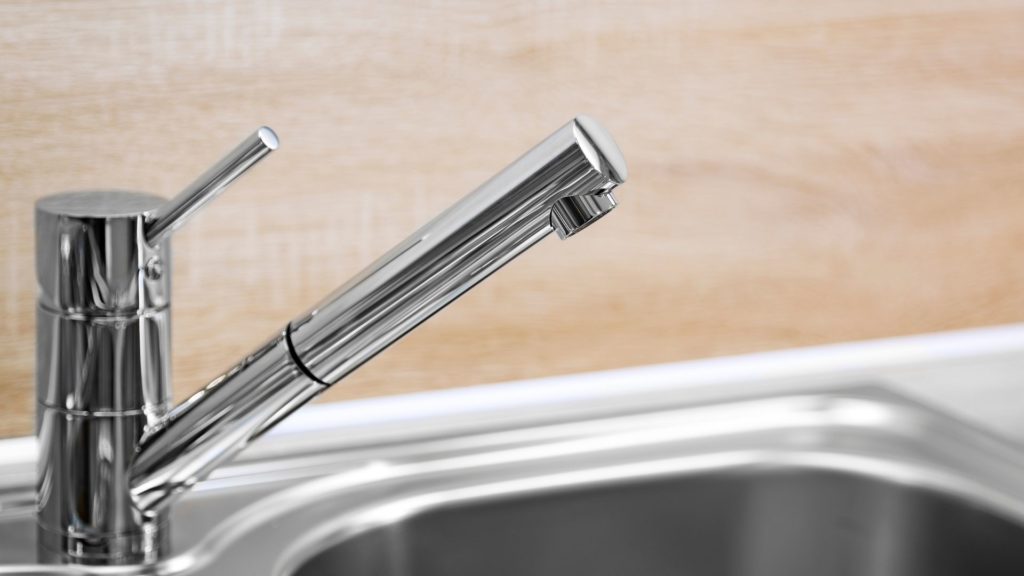
How to Repair a Single Handle Kitchen Faucet with a Spray Hose
Kitchen faucets that feature a spray hose are exceptionally versatile and flexible. They offer to facilitate both washing and rinsing in a way that traditional faucets are unable to do. Since they contain parts that move, they will be more at risk for wear and tear.
To repair a single handle kitchen faucet with a spray hose**, you must first identify the problem that needs repairing.

The Hose Will Not Retract
This is a commonplace problem for pull-out spray hoses. The hose does not retract and thus does not return to the appropriate position. You may find yourself returning the hose by pushing it back in manually. These hoses generally have a weight connected that thanks to gravity will pull the hose back into its opposition. The weight may have fallen off and needs to be reconnected. If the original hose sticks or snags the faucet’s side, you can resolve this by substituting the hose with a new one.
The Water Pressure is Low
This is probably because of a build-up of mineral deposits in the aerator found in the faucet’s head. This will be common in areas served with hard water. To repair this, remove the aerator. If the build-up is severe, you will want to boil the aerator for a half-hour in vinegar or leave it to soak in a commercial product for the removal of mineral build-up. If the mineral deposit is light, using a toothbrush or similar, clean the aerator and then return to its position in the faucet head.

The Faucet does not Fit Properly in its Cradle
With daily wear and tear, the spray head may no longer fit its cradle well. If you have a less expensive faucet, you may need to replace the faucet system. This is not a problem that is common in expensive faucets as they are designed to prevent this.
Spray Hose Leakage
Typical leaks in a spray hose will occur at one end or the other of the hose. If this is the case, to repair this leakage, simply replace the hose as opposed to replacing the entire faucet set up.
- Turn off the valves that control the supply of water under your sink.
- Remove the metal weight. If the weight is plastic, leave it momentarily.
- Locate the fitting where the hose attaches to the water source and disconnect.
- If the weight is plastic, it can now be removed from the hose.
- Remove the hose by pulling it outward from the spout of the faucet.
- Reinsert a new hose into the spout.
- Reattach the weight.
- Reattach the new hose connecting it to the water supply.
- Turn on the water. Now control for any leakage.
The Spray Head Leaks
Often, problems are located directly in the sprayer head and not in the hose. If this happens, the sprayer head needs replacing.
- Turn off the water supply valves under your sink.
- Remove the spray head, washer, and C-clip.
- Attach a new spray head reattaching the C-clip and washer. Now screw the new spray head onto the hose.
The Diverter is Clogged
This is the valve that will divert the water from the faucet into the spray head. Eventually, it can accumulate dirt or debris and become clogged. Remove your spray head from the hose and turn on the water. If the flow is weak, your diverter is probably clogged.

Should the spray hose have a flow that pulses or water continues to come out of the main faucet while you have turned on the spray hose, the diverter is faulty. it will need to be replaced. For replacement, it is necessary to consult the faucet’s owner manual as each model is different.
The Water Handle Sticks
It needs a good cleaning. Remove dirt or mineral buildup inside and the problem should resolve itself.
A Final Thought
If you want to save money replacing your kitchen faucet yourself, go for it! Understand each step, prepare necessary tools, and watch helpful YouTube videos for guidance. For repairing a single-handle faucet with a spray hose, check our list of DIY solutions. Thanks for reading.


")