Melted chocolate is an ingredient I find repeated in my list of favorite dessert recipes. It may be because I have a taste for ultra-sweet, absolutely decadent desserts, but in any case, there it is “melted chocolate” in bright bold letters.
What’s not to love about chocolate, melted or otherwise? It’s my go-to ingredient for saving an improvised lunch or dinner with guests when I don’t have a dessert or don’t have the time to whip one up. A drizzle of melted chocolate on a piece of fresh fruit will save the day.
But melting chocolate well is practically an art. It isn’t as easy as it may seem. When not done well, you may end up with burnt chocolate as opposed to melted or just “seized” chocolate that solidifies on you in the worst possible manner. So, I’ve learned at my own expense, and after any number of chocolate melting disappointments, that avoiding a couple of mistakes can make all the difference when melting.


How to Melt Chocolate in the Microwave
This is probably the quickest and easiest way to melt chocolate whether as a recipe ingredient or as a topping for ice cream or fruit. Each brand of microwave is different, so when melting chocolate, you’re going to have to keep an eye on what you’re doing. The real risk here is overcooking your chocolate instead of melting it.
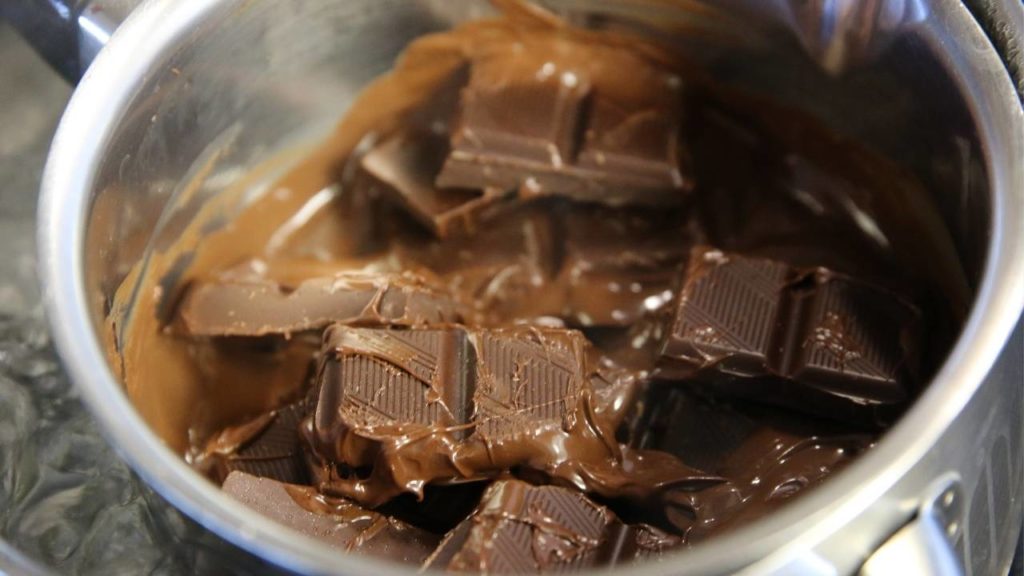
Step 1: Break or chop a chocolate bar into small pieces and fill a microwave-safe bowl with those pieces.
Step 2: Set your microwave to 50% power and proceed to microwave the chocolate for thirty seconds.
Step 3: Remove the chocolate and stir it.
Step 4: Microwave the chocolate again, this time for 30 seconds. After, remove and stir. Continue microwaving using smaller intervals such as 20 seconds, 10 seconds. etc., at a time until your chocolate has completely melted. Stir after every microwave interval to avoid overheating your chocolate.
How to Melt Chocolate on a Stove
Personally, this is my preferred method because I can keep a continuous watch on my chocolate, and the smell is inebriating. my kitchen smells like a chocolate factory!
Step 1: Prepare a double boiler. Place it filled with adequate water on the stove. Allow it to simmer.

Step 2: Add the chocolate pieces to the top of the double boiler.
Step 3: Gently stir your chocolate with a rubber heat-safe spatula until it has fully melted.
How to Melt Chocolate in a Pan
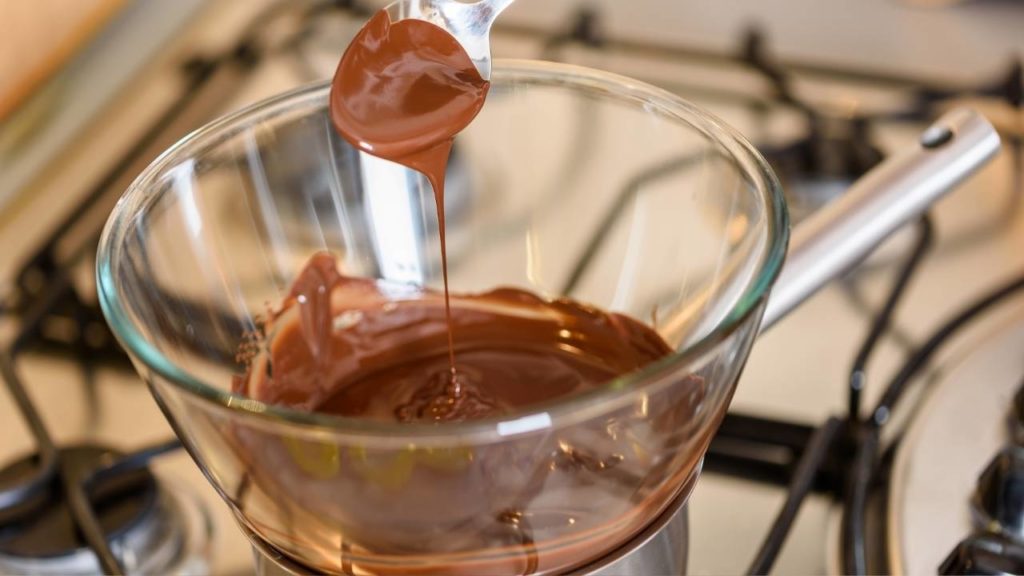
If you don’t have a double boiler, you can use a heat-proof metal bowl that can fit over a saucepan with water, and it will give your kitchen that great chocolatey smell just like a double boiler.
Step 1: Fill the saucepan with several inches of water.

Step 2: Place the heat-proof bowl over the pan. The bottom of the bowl should not touch or come into contact with the water. Heat the water enough to simmer.
Step 3: Turn off the heat and add 2/3 of the chocolate chips or pieces of a chocolate bar into the bowl.
Step 4: Gently stir till melted.
Step 5: Add in the remaining 1/3 of chocolate, stirring constantly until fully melted.
Tip: By not adding in all of the chocolate at once and melting only a part while stirring in the remainder, you are tempering your chocolate.
How to Melt Chocolate with Milk
For those who don’t want to buy a prepared chocolate sauce, but find directly melting chocolate bars a bit bitter, a solution may be melting chocolate with milk and eventually adding in sugar.

Can chocolate be melted with milk? Yes, while perhaps not the ideal scenario for purists, it can be done successfully, and it will add to making a creamier and richer chocolate sauce. Make sure you have sufficient chocolate to match the quantity of milk you use. However, be careful! If you use too little milk the chocolate will “seize” meaning it will solidify and be a mess!
Step 1: Prepare the chocolate by breaking it into small pieces or use chocolate chips.
Step 2: Measure the correct amount of milk you will need. For most chocolate, one tablespoon of milk should be used for every 2 ounces of chocolate to melt. Dark chocolate may need a little extra liquid, so keep some extra milk nearby.
Step 3: Warm the milk before it is added to the chocolate to melt. Bring it to a light simmer in a saucepan on the stove or in a microwave.
Step 4: Use a double boiler preferably, or a bowl over a pan. Fill the pot with water and allow it to boil. Now reduce the heat and place the bowl onto the pan with steaming, boiling water.
Step 5: Add the warmed milk to the bowl.
Step 6: Add the chocolate pieces to the milk in the bowl, all the while stirring with a rubber spatula.
When the chocolate has melted fully, remove it at once from the heat source. Overheating will ruin the chocolate should it begin to solidify.
How to Melt Chocolate Chips for Dipping
If you are an aficionado of chocolate-covered strawberries, pretzels, marshmallows, bananas, or anything for that matter, melting chocolate chips for dipping is a great solution for homemade treats.
Any of the methods specified above can be used to melt chocolate chips. The double boiler is the ideal method because you want to make sure that you don’t overheat the chocolate when melting for dipping. Overheated chocolate can become dry, chunky, and thick when overheated, and if you attempt to heat it more, it will just get thicker and dryer.
The secret to keeping your melted chocolate soft and dip-ready is to add a touch of vegetable oil. This will prevent the chocolate from drying out. Personally, I find a good formula to be no more than one teaspoon of vegetable oil to one full cup of chocolate chips. While stirring the melting chocolate, I add in this little bit of oil which makes my chocolate perfect for dipping.
Tips when Melting Chocolate
- Dry your tools. Make sure all of the tools and accessories you use are completely dry. A drop of water can contribute to your chocolate seizing. This happens when moisture comes into direct contact with the chocolate. It will cause the sugar to become syrup and the particles of cocoa to clump together.
- Tempering Chocolate: When you melt chocolate, it may become brittle and dull. Tempering means melting, cooling, and reheating your chocolate while stirring the entire time. This enables the fat to be smoothly remixed back into the chocolate.
- Take your time. If chocolate is exposed to heat too quickly it will become grainy in texture or burn. Low and slow is the rule. To help your chocolate melt more easily, try chopping it up instead of breaking it into pieces.
- Quality ingredients. Spend a little bit more to get quality chocolate with a high content of cocoa butter.
Uses of Melted Chocolate
While a recipe may specifically call for melted chocolate, here are a few things you can do with it:
- Dip. Dipping fruit or other foods is a quick way to whip up a dessert of homemade treats.
- Drizzle. Like dipping, you can drizzle a bit of melted chocolate over fruit, ice cream, milkshakes, or homemade treats to give it extra pizzazz at the table.
- Decorate. If you have a special event to bake a cake for, you can decorate with melted chocolate by using a piping bag and make a design or write your message.
Conclusion
So, there you have it…all of my hard-earned tips for melting chocolate.
You have no idea how many mistakes were made along the way. However, it was worth it, because now I can melt chocolate whenever I need to. I hope my mistakes will save you some time and that melting chocolate will become a staple of your dessert creations.